Introduction #
CodeIgniter 4 had become one of the popular web frameworks that people choose to build their website in a short time. As a mature web framework, CodeIgniter provides commonly used classes and tools to aid in web development. However, it still lacks several essential features. For example, it does not have the ability to get and display the proxy information of an IP address. It will come in handy when the website owner wishes to block the visitor from using a VPN to access their website. In this article, we will show you how to enable this proxy feature by using the IP2Proxy PHP library in CodeIgniter 4.
Throughout this tutorial, you will learn how to
- Set up Apache in the server in a docker,
- Install and create a CodeIgniter 4 project
- Display proxy information using IP2Proxy PHP library and IP2Proxy database.
Note: We will use Docker in this tutorial, if you haven’t installed Docker, please do so before proceeding.
How to install Apache in the server? #
- First, we need to pull the Docker image to the server. We will pull the latest Debian image in this tutorial. We are using Debian 11 in this tutorial. Use the following command to do so:
docker pull debian - Next, create a new Docker container with the name webserver1 and the interactive mode:
sudo docker run --name webserver1 -p 80:80 -it debian /bin/bash. The name “webserver1” can be changed to any name you like. - Please note that in the above command, we are binding the HTTP port 80 from host to the container. It is advisable to check for the available port number first before running the above command. You can read this article to get started.
- We will need to install the Apache web server in the container, but let us update the package list to get the latest version first. Just run
sudo apt-get updatebefore doing anything. - After that, we can proceed to install the packages required. To install Apache, run the following command:
sudo apt-get install apache2 libapache2-mod-php - After the installation is done, we will then start the Apache service. Use the following command to start the service:
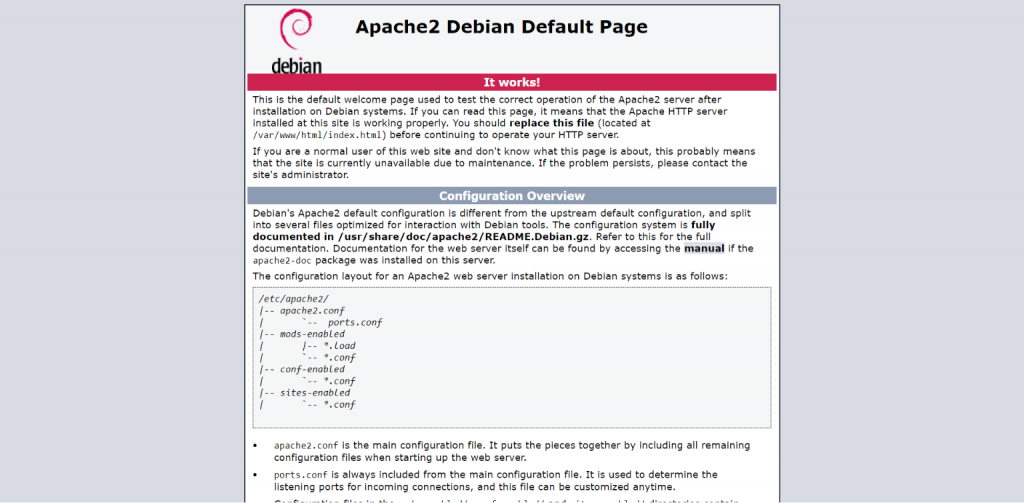
/etc/init.d/apache2 start. - Now go to your browser and enter your server IP. If you saw a page similar to the screenshot, congratulations, you have successfully installed and setup Apache in the Docker container.
How to install CodeIgniter 4 in the server? #
Note: CodeIgniter 4 requires PHP 7.4 or newer version. Please update to the latest version if you have an outdated one.
- CodeIgniter recommends that users use Composer to install and upgrade the CodeIgniter project(s). So, we need to install Composer in the server first. In the same container, run this command
sudo apt-get install composerto install Composer.
Note: The PHP will be installed as well if you haven’t installed it before. - The CodeIgniter 4 requires certain PHP extensions to be installed. Run the following commands to install those extensions: apt-get install php7.4-curl php7.4-intl php7.4-dom
- After that, change the path to
/var/www/and run this commandcomposer create-project codeigniter4/appstarter project1to create a new CodeIgniter4 project. Note that the new folder name can only contain alphanumeric and symbols/,_,.,:,and space. - After the creation process is done, you can go to the browser to test the website. But before that, you will need to configure in the Apache so that the Apache will load the correct directory. Open the configuration file called 000-default.conf by using the command
nano /etc/apache2/sites-enabled/000-default.conf.
Note: If you have a purchased domain and would like to use it for this new website, you can also configure in Apache. You can refer to this article to get started. - Go to the line “DocumentRoot /var/www/html”, and change the path to “/var/www/project1/public”. After that, save the changes and close the file. Restart the Apache service to register the changes.
- We will also need to change the ownership of the cache folder. We can do it with this command:
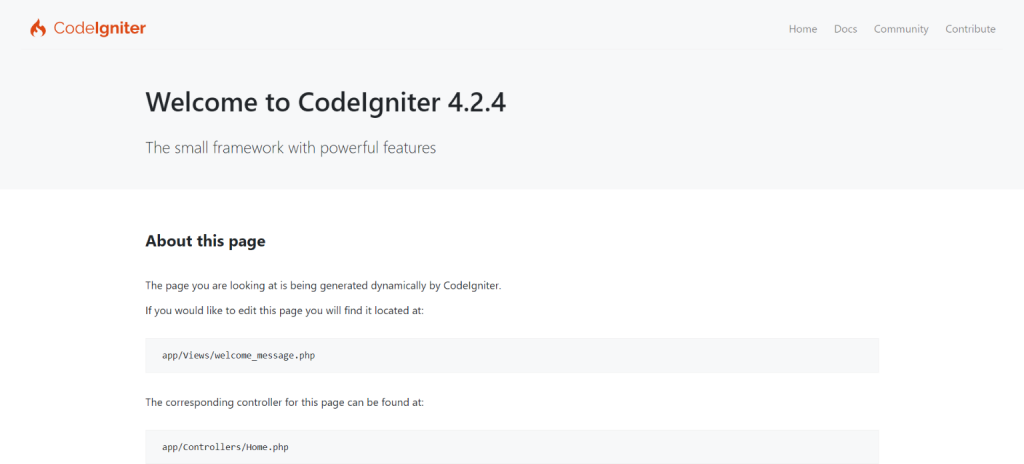
chown www-data:www-data /var/www/project1/writable/cache/. - After that you can visit the website in your browser. If you see the page similar to the screenshot, you have done the basic configuration for CodeIgniter 4.
How to display proxy information in the default Welcome page? #
- Before getting started, register for a free account in IP2Location Lite, and download the PX12 Lite database. After extracting the zipped file downloaded, create a new directory under the project name ‘data’, and move the BIN file to the directory.
Note: You can also purchase IP2Proxy commercial databases from IP2Location, click here to get started. - We will need to install IP2Proxy PHP library first before continuing, so go to the console, change the path to the project root directory and use the following command to install the library:
composer require ip2location/ip2proxy-php - The default Welcome page content is located at <your_project_path>/app/Views/welcome_message.php. We will edit this file to add the code for displaying the proxy information. So first open the file with any text editor you like.
- Go to the line after “…Welcome to CodeIgniter…”, and add the following code:
<?php
$db = new IP2ProxyDatabase(dirname(getcwd(),1).'dataIP2PROXY-LITE-PX12.BIN', IP2PROXYDatabase::FILE_IO);
$records = $db->lookup('1.0.0.8', IP2PROXYDatabase::ALL);

echo 'Below are the proxy information from IP2Proxy Library.<br>';
echo 'IP Address: ' . $records['ipAddress'] . '<br>';
echo 'Country Code: ' . $records['countryCode'] . '<br>';
echo 'Country: ' . $records['countryName'] . '<br>';
echo 'State: ' . $records['regionName'] . '<br>';
echo 'City: ' . $records['cityName'] . '<br>';
echo 'Proxy Type: ' . $records['proxyType'] . '<br>';
echo 'Is Proxy: ' . $records['isProxy'] . '<br>';
echo 'ISP: ' . $records['isp'] . '<br>';
echo 'Domain: ' . $records['domain'] . '<br>';
echo 'Usage Type: ' . $records['usageType'] . '<br>';
echo 'ASN: ' . $records['asn'] . '<br>';
echo 'AS: ' . $records['as'] . '<br>';
echo 'Last Seen: ' . $records['lastSeen'] . '<br>';
echo 'Threat: ' . $records['threat'] . '<br>';
echo 'Provider: ' . $records['provider'] . '<br>';
echo 'Fraud Score: ' . $records['fraudScore'] . '<br>';
?>
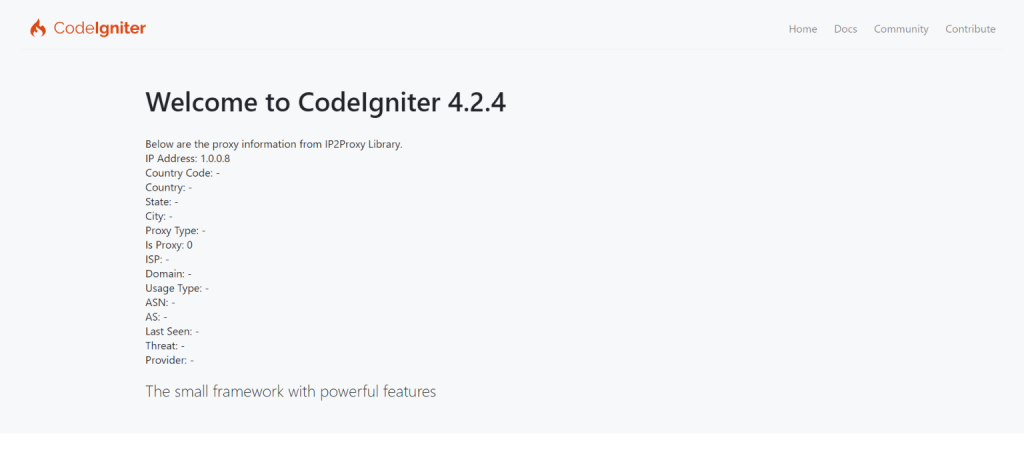
5. Save the file before exiting. You should be able to see the similar content in the below screenshot.
Conclusion #
At the end of this tutorial, you would have gone through the process from installing the Apache, and CodeIgniter as well as modifying CodeIgniter to display the proxy information. The proxy information can help to identify the visitor, and also be used to serve a region-restricted content to your visitor. This can build an unique user experience for your visitor.