Viewing visitor proxy report is important for maintaining network security, ensuring compliance with policies and regulations, optimizing network resources, troubleshooting issues, and making informed decisions about resource allocation and risk management. It provides valuable insights into user behavior and network activity that can benefit both security and operational aspects of an organization.
In this tutorial, we are going to guide you for installation and setup of IP2Proxy Proxy detection Matomo plugin.
- Login in to your Matomo administrator page.
- Go to System > Plugins.
- Click on the Install New Plugins button at the bottom of the page.
- Search for IP2Proxy from the Marketplace.
- Install and activate the plugin.
- Register and download the free IP2Location LITE database.
- Upload the IP2Proxy BIN database to /misc folder under Matomo installation folder.
- Navigate to System > General Settings > IP2Proxy. Insert the absolute path of the BIN database and save the changes.

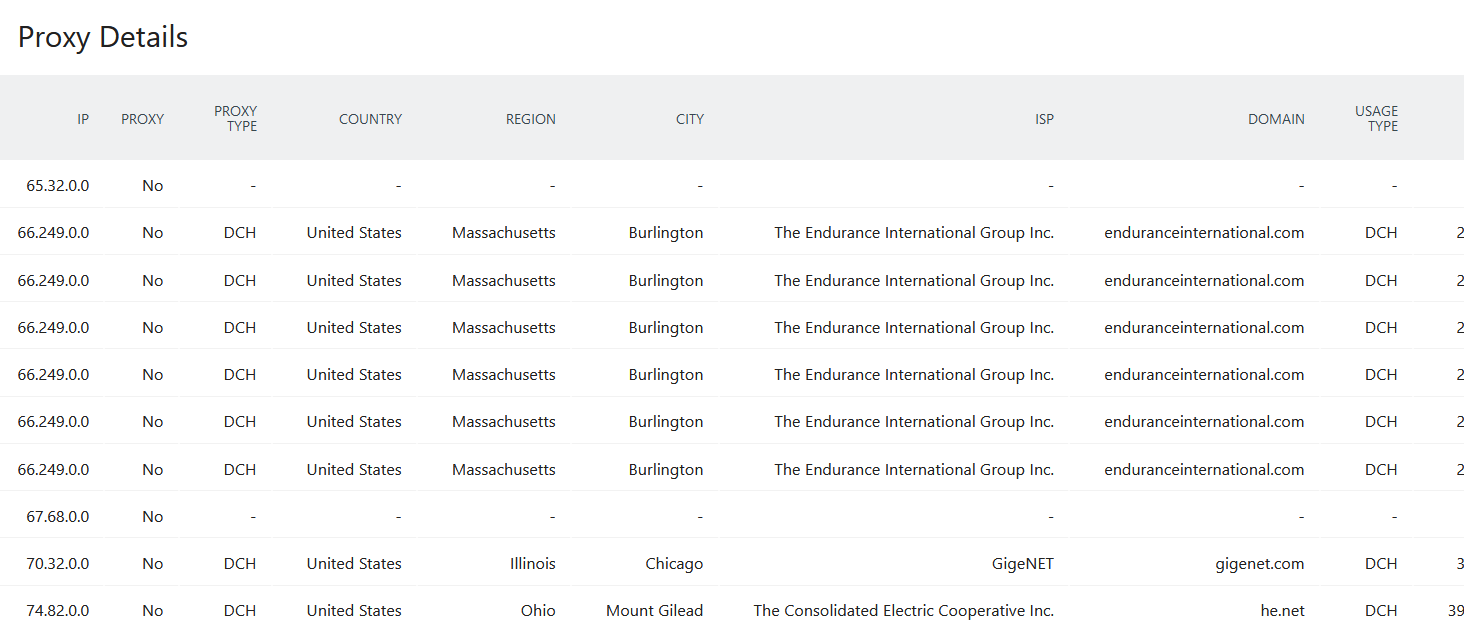
- Go to your website’s Visitor tab. You should see a new tab Proxy Details available and you may view the visitor proxy report here.