In this tutorial, we will show you how to integrate IP2Location free World SVG Map into the JQV map plugin. Firstly, you need to get the JQV map plugin from https://github.com/10bestdesign/jqvmap. After that, you can download the free World SVG Map file at https://www.ip2location.com/free/world-svg-map. Then, you need to convert the SVG map to Jvector map, as the JQV map plugin do not support SVG format. You can use this library, https://github.com/okw95/svg-jvector-map-converter, to convert the World SVG map file into Jvector map. Alternatively, you can also download the ready Jvector, new_world_map.js, map from the above github link.
After that, you need to extract the downloaded file of JQV map plugin. You should get the following files after the unzip:
- dist/jqvmap.css
- dist/jquery.vmap.js
Create a new folder and move the above two files with the Jvector map file into it. After that, include these files into the page header. Lastly, you need to add the script to display the map. Below are the script to be added:
<script>
jQuery(document).ready(function () {
jQuery('#vmap').vectorMap({
map: ‘your map name',
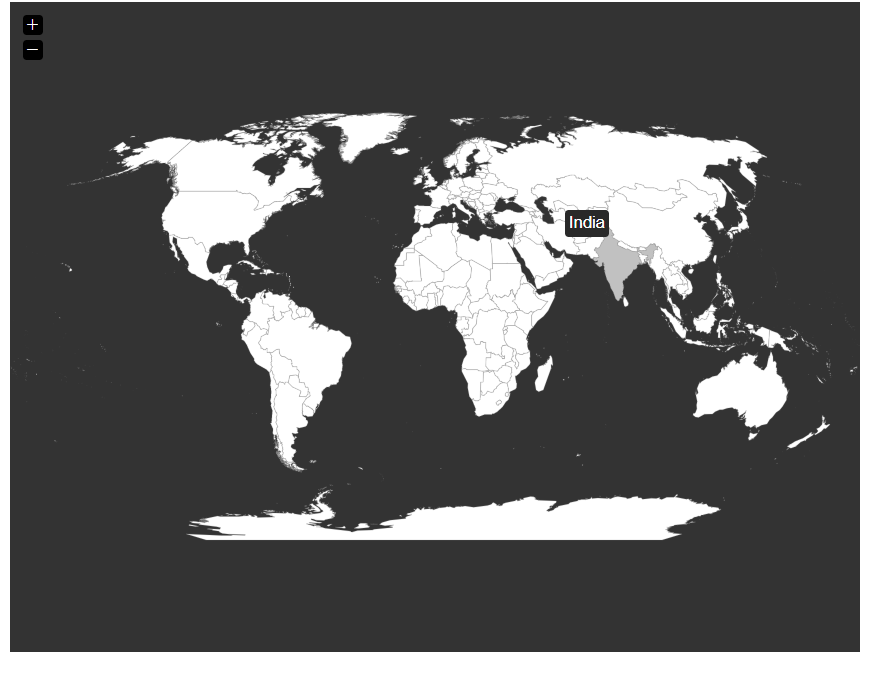
backgroundColor: '#333333',
color: '#ffffff',
hoverOpacity: 0.7,
selectedColor: '#666666',
enableZoom: true,
showTooltip: true,
scaleColors: ['#C8EEFF', '#006491'],
normalizeFunction: 'polynomial'
});
});
</script>
Now you can refresh your page and view the map. Enjoy!