

IP2Location MongoDB docker simplifies the efforts to setup up the geolocation database for IP lookup. In this tutorial, we are going to demonstrate how to set up the IP2Location MongoDB docker and how to use it in a Debian container. And, we are going to use the docker network for the connection.
Setup IP2Location MongoDB Instance #
We assume that you have the docker environment installed before you continue reading this article. First of all, download ip2location/mongodb image from docker hub using the below command:
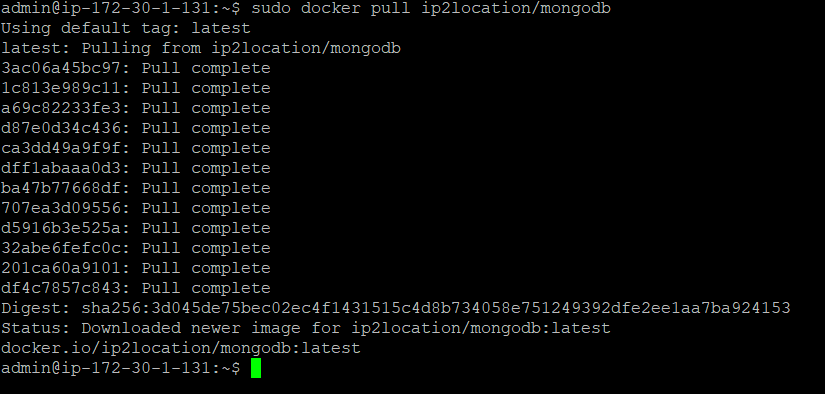
sudo docker pull ip2location/mongodb
You should see the below screenshot if you had successfully downloaded the ip2location/mongodb image.
In addition, you can also check using the below command.
sudo docker images
You should see the ip2location/mongodb repository name appearing in the list. Next, you can create the container and set up the geolocation database. Before doing so, you will need a download token. If you are a client of ip2location.com or https://www.ip2location.com/database/lite, you can login to the account area to retrieve the download token. If you are not, you can subscribe for a free LITE account at https://lite.ip2location.com to get the download token.

Once you have the token ready, you can initiate the below command for the installation:
sudo docker run --name ip2location -d -e MONGODB_PASSWORD={MONGODB_PASSWORD} -e TOKEN={DOWNLOAD_TOKEN} -e CODE={CODE} ip2location/mongodb
whereby, the {MONGODB_PASSWORD} is the admin password for the MongoDB server, the {DOWNLOAD_TOKEN} is the ASCII string that you retrieved from your account area, and the {CODE} is the database that you would like to install. The CODE information can also be located in your account area. For example, if you are going to use IP2LOCATION DB3 LITE and your token is ABC123 with 12345 as your password. Below is the example of the command:
sudo docker run --name ip2location -d -e MONGODB_PASSWORD=12345 -e TOKEN=ABC123 -e CODE=DB3LITE ip2location/mongodb
Hit the enter button to run the above command. Then, you can invoke the below command to check the database setup progress.
sudo docker logs ip2location
If the database was successfully setup, you should see the below screenshot:
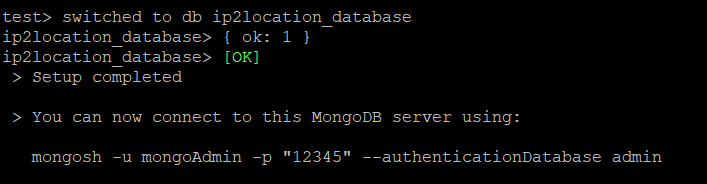
You are now done with the IP2Location MongoDB setup. You may also check if the ip2location instance is running by issuing the following command.
sudo docker ps
Setup Debian container #
We will now proceed to set up the Debian container. You can skip this step if you already have the container ready. Run the below command to download the Debian image.
sudo docker pull debian
Please note that we will use the latest version of Debian in this article. However, if you want, you may specify the Debian version that you want to download. For the purpose of this write up, we are using Debian 10, buster.
After the downloading is done, run the below command to start the container.
sudo docker run --name debian-test -it debian bin/bash
You should now be in the container environment if you had successfully created and ran the container. You will notice the below screenshot:

Press CTRL+P followed by CTRL+Q to detach from the container. Please do not type the exit command as it will shut down the container, as we still need to container to be up and running for the testing.
How to use IP2Location MongoDB database in Debian container #
You have both the debian-test and ip2location containers created and running, but they are not communicating with each other. You will need to create a network to connect both of them. To do so, you need to create a simple bridge network as below:
sudo docker network create simple-network
Connect both containers to the same network using the below command
sudo docker network connect simple-network ip2location
sudo docker network connect simple-network debian-test
Now, you can go back to the debian-test container using the below command so that you can test the connection.
sudo docker attach debian-test
Try pinging for ip2location, and you should see the response successfully. Now, the containers are in the same network and capable to see each other.
Next, you need to install MongoDB into the debian-test container so you can query the MongoDB database inside the ip2location container. Follow the installation steps in https://docs.mongodb.com/manual/tutorial/install-mongodb-on-debian/ to install.
After MongoDB has been installed in the debian-test container, connect to the MongoDB database using the below command:
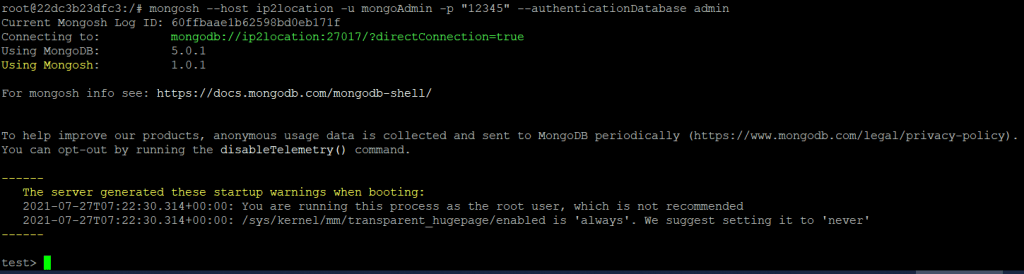
mongosh --host ip2location -u mongoAdmin -p "12345" --authenticationDatabase admin
If you can connect to the MongoDB database running inside the ip2location container, you will see something like the below screenshot:
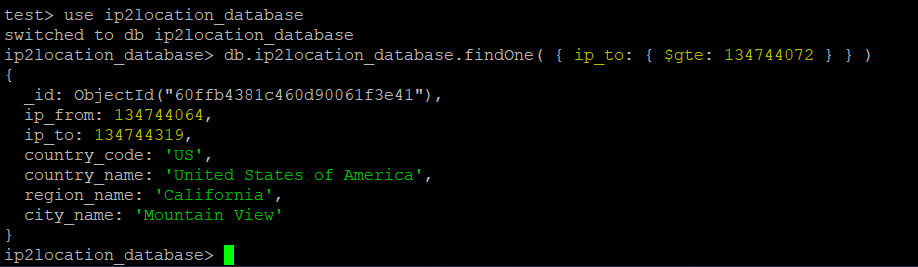
Now, you can type the below commands to test the IP lookup for 8.8.8.8 (IP number 134744072).
use ip2location_database
db.ip2location_database.findOne( { ip_to: { $gte: 134744072 } } )
If everything is set up correctly, you should see the below response.
The above tutorial is just a simple guide to access the IP2Location MongoDB container. In fact, you can run a PHP, Ruby or other container to implement any geolocation solution you want.


