
Intro #
Let us quickly go through what is pfSense in case anyone is unfamiliar with it. pfSense is an open-source firewall and router operating system based on FreeBSD. It is often used as a network firewall, router, VPN and more. It comes with a web-based interface for configuration.
pfSense supports running plugins called packages, one of which is the pfBlockerNG package. This package provides IP and DNS-based blocking capabilities. It is commonly used to block ads, malware domains as well as perform geo-filtering or geo-blocking.
By default, pfBlockerNG uses the geolocation data file from MaxMind to provide the geolocation functionality. However, users of IP2Location may find it useful to learn how to configure pfBlockerNG to use the IP2Location MMDB data file instead. This is what this article aims to demonstrate.
Pre-requisite #
Before proceeding, make sure you have a download token for the IP2Location DB1 MMDB file. For the commercial DB1, you can subscribe to the DB1 package at https://www.ip2location.com/database/db1-ip-country, while for the free LITE DB1, please sign up at https://lite.ip2location.com/database/db1-ip-country.
You will also need a machine running pfSense with the pfBlockerNG & Cron packages installed, we won’t cover that part.
The script to automate the IP2Location MMDB file download #
Below, you will see the script that we will use to automate the download of the IP2Location MMDB file which will replace the automated MaxMind data file update process.
Copy & paste the below code into a file called ip2location_update.sh on your local computer. If you’re using the free LITE MMDB file, you will need to edit the variable DBFILE to become “DB1LITEMMDB†instead of the default “DB1MMDBâ€. Next, edit the variable TOKEN by pasting your download token from above. Then, save the file.
#!/bin/sh
PATH=/bin:/usr/bin:/usr/local/bin

# === CONFIGURATION ===
DBFILE="DB1MMDB" # or "DB1LITEMMDB" if using the free LITE DB1
TOKEN="YOUR_DOWNLOAD_TOKEN" # paste your ip2location.com or lite.ip2location.com download token here
URL="https://www.ip2location.com/download?token=$TOKEN&file=$DBFILE"
TMPDIR="/tmp/ip2location_mmdb"
TARGET="/usr/local/share/GeoIP"
FILENAME="GeoLite2-Country.mmdb"
LOGFILE="/root/ip2location_update.log"

# === LOG FUNCTION ===
log() {
  /bin/echo "$(date '+%Y-%m-%d %H:%M:%S') - $1" >> "$LOGFILE"
}

log "=== Starting IP2Location MMDB update ==="

# === PREP ===
/bin/mkdir -p "$TMPDIR"
cd "$TMPDIR" || exit 1

# === DOWNLOAD AND EXTRACT ===
/usr/bin/fetch --no-verify-peer -T 300 -o ip2location.zip "$URL" >> "$LOGFILE" 2>&1

# === VALIDATE ZIP ===
if ! /usr/bin/unzip -t ip2location.zip >/dev/null 2>&1; then
  log "Error: Downloaded file is not a valid ZIP."
  exit 1
fi

/usr/bin/unzip -o ip2location.zip >> "$LOGFILE" 2>&1

# === FIND AND INSTALL .MMDB ===
MMDB=$(/usr/bin/find . -name "*.MMDB" | /usr/bin/head -n 1)

if [ ! -f "$MMDB" ]; then
  log "Error: MMDB not found in zip file."
  exit 1
fi

# === BACKUP OLD FILE ===
if [ -f "$TARGET/$FILENAME" ]; then
  /bin/cp "$TARGET/$FILENAME" "$TARGET/${FILENAME}.bak"
  log "Backup created: ${FILENAME}.bak"
fi

# === DEPLOY NEW FILE ===
/bin/cp "$MMDB" "$TARGET/$FILENAME"
/bin/chmod 444 "$TARGET/$FILENAME"
log "Deployed new MMDB to $TARGET/$FILENAME"

# === CLEANUP ===
/bin/rm -rf "$TMPDIR"
log "Cleanup done."

# === RELOAD PFBLOCKERNG ===
/usr/local/bin/php /usr/local/www/pfblockerng/pfblockerng.php reload >> "$LOGFILE" 2>&1

log "pfBlockerNG reloaded."

log "=== IP2Location MMDB update completed ==="
Let’s disable the MaxMind download process first #
Before we can setup the IP2Location update process, we will need to disable the MaxMind download process first so that it won’t overwrite the IP2Location MMDB file.
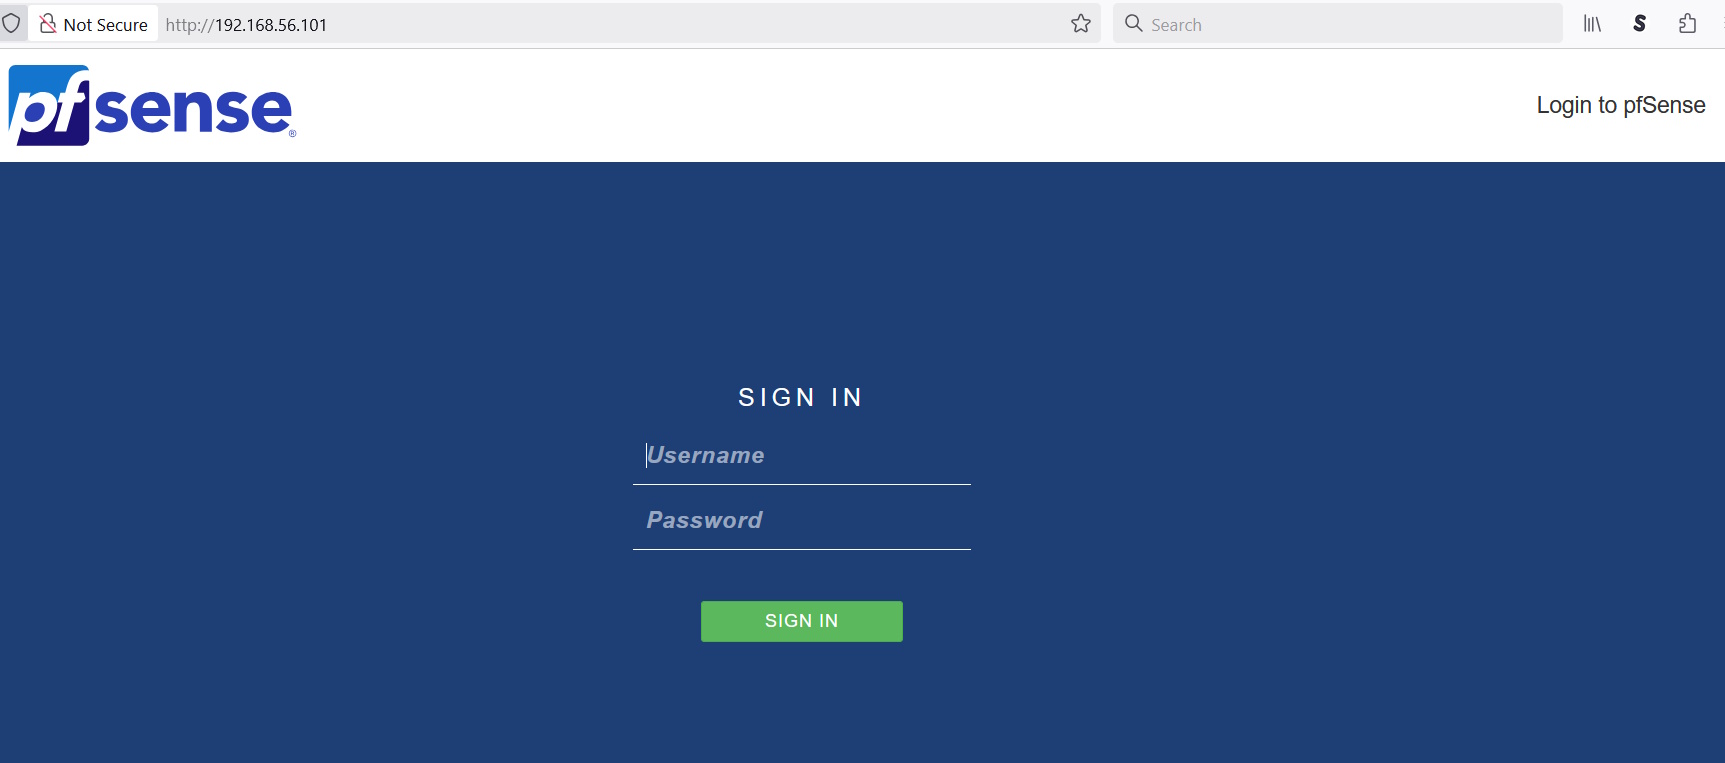
Login to your pfSense web page, in our case 192.168.56.101 but yours may differ so check your configuration.
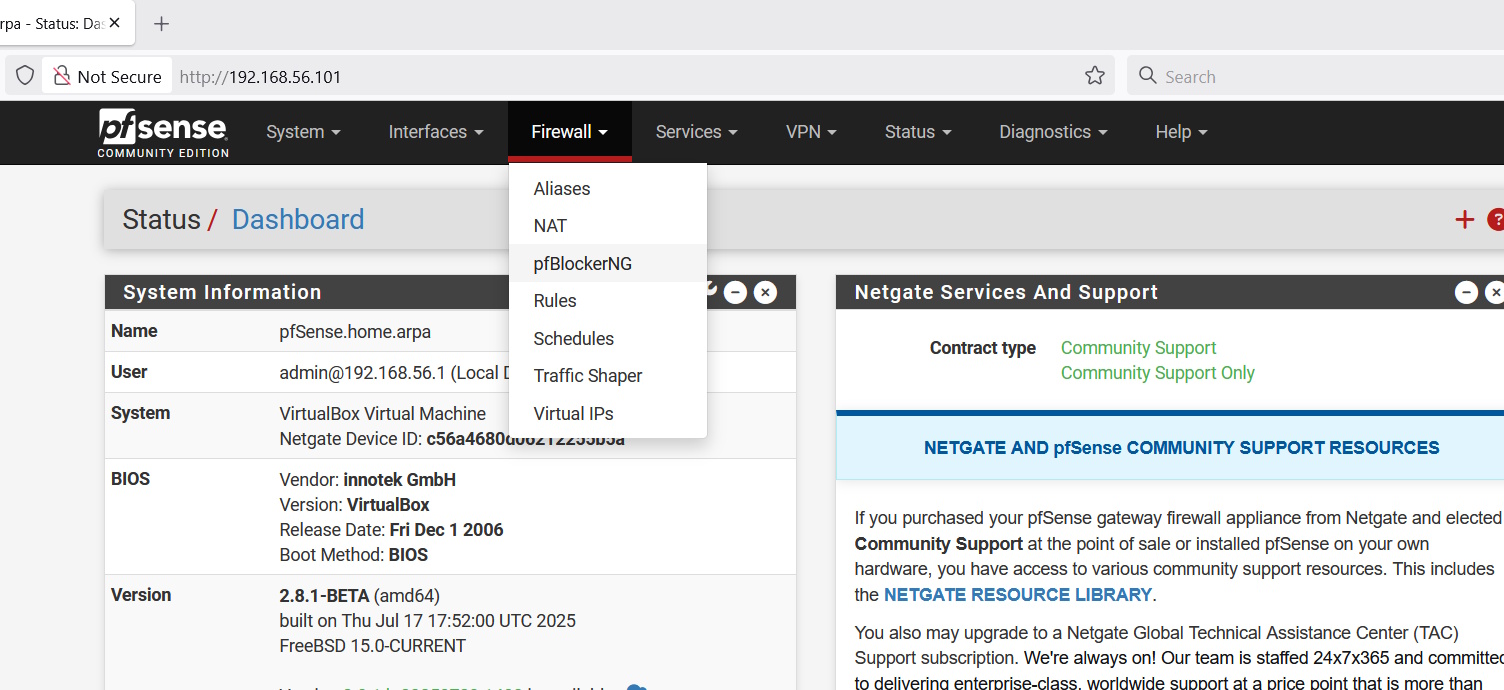
Now, go to Firewall -> pfBlockerNG.
Inside the pfBlockerNG, click on IP and you’ll see something like below.
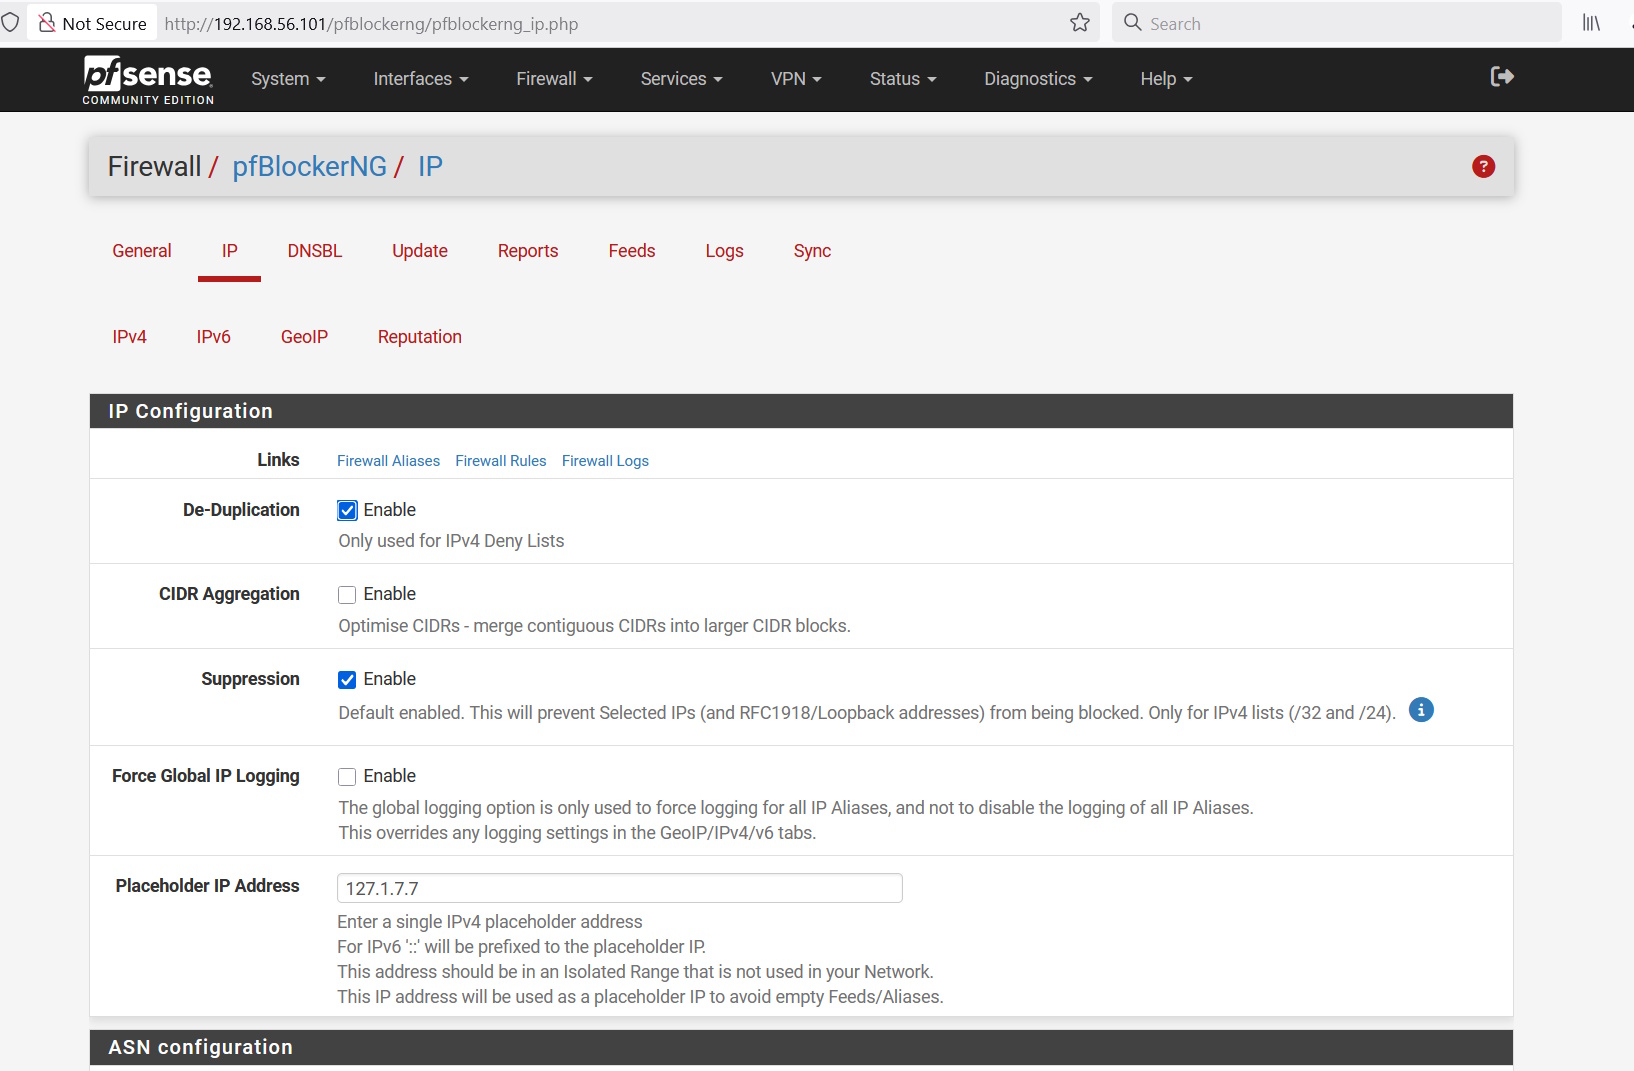
Scroll down to the the MaxMind section.
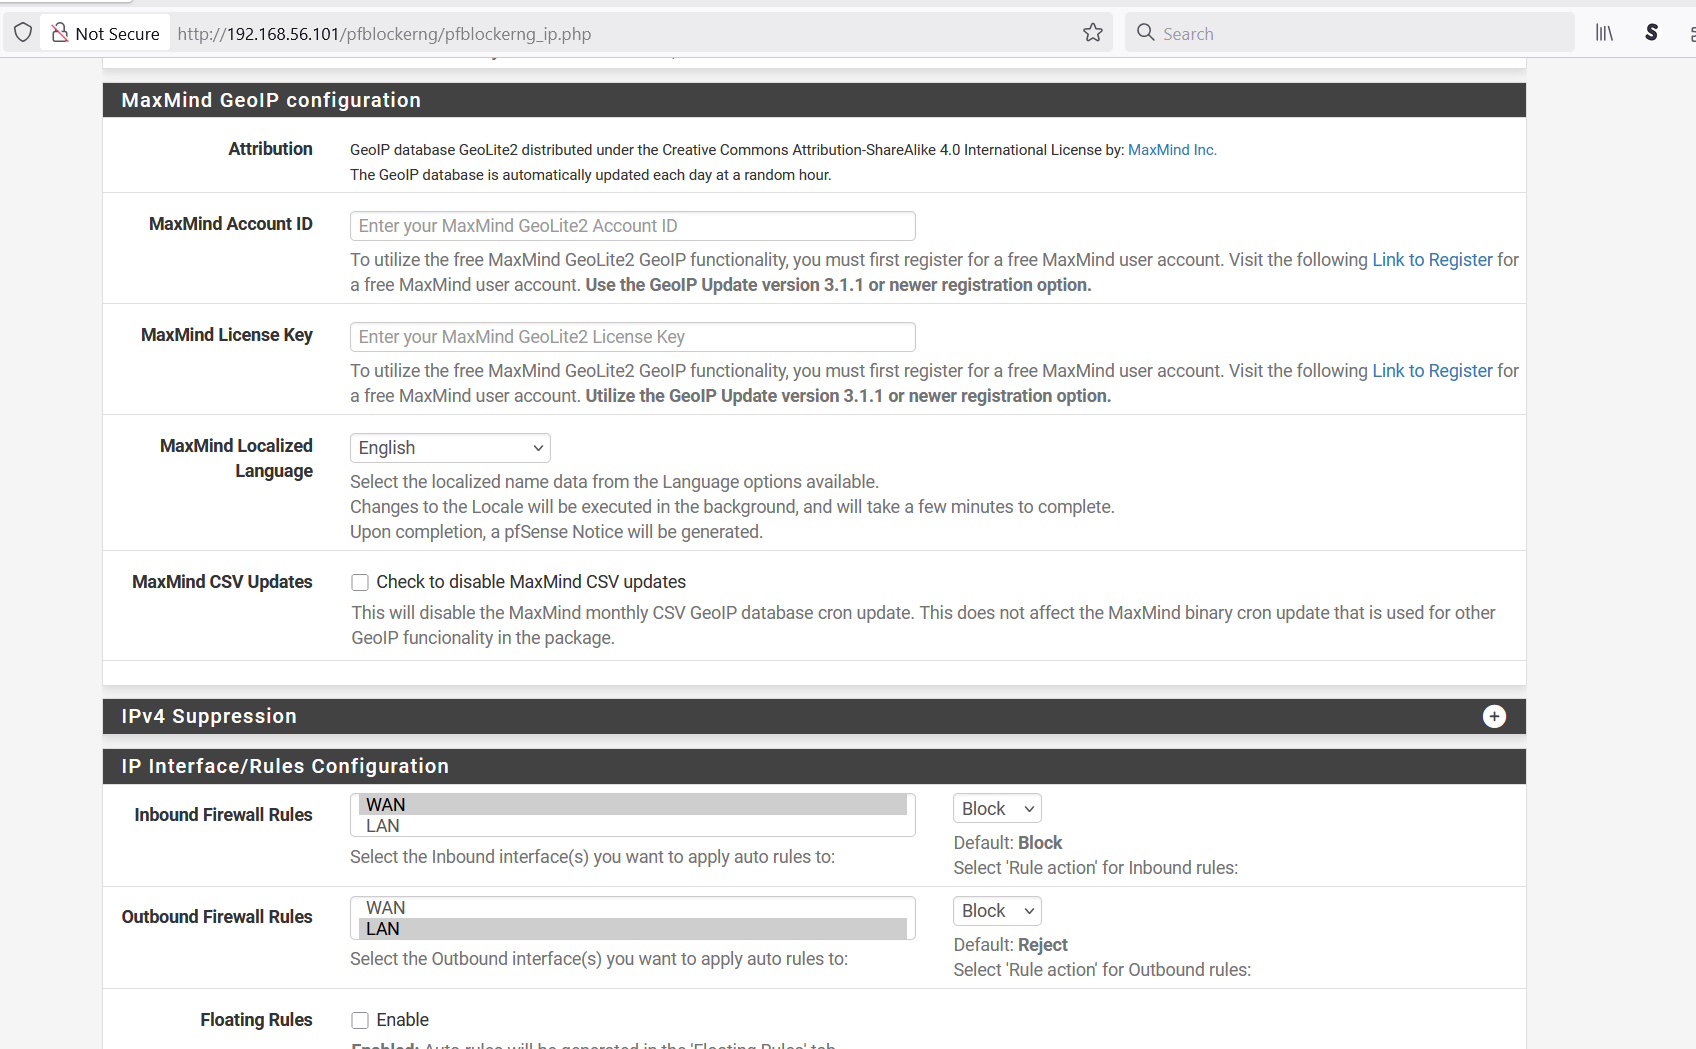
Make sure the MaxMind Account ID and MaxMind License Key fields are empty. If they’re not, empty them and save the settings.
Upload the IP2Location update script #
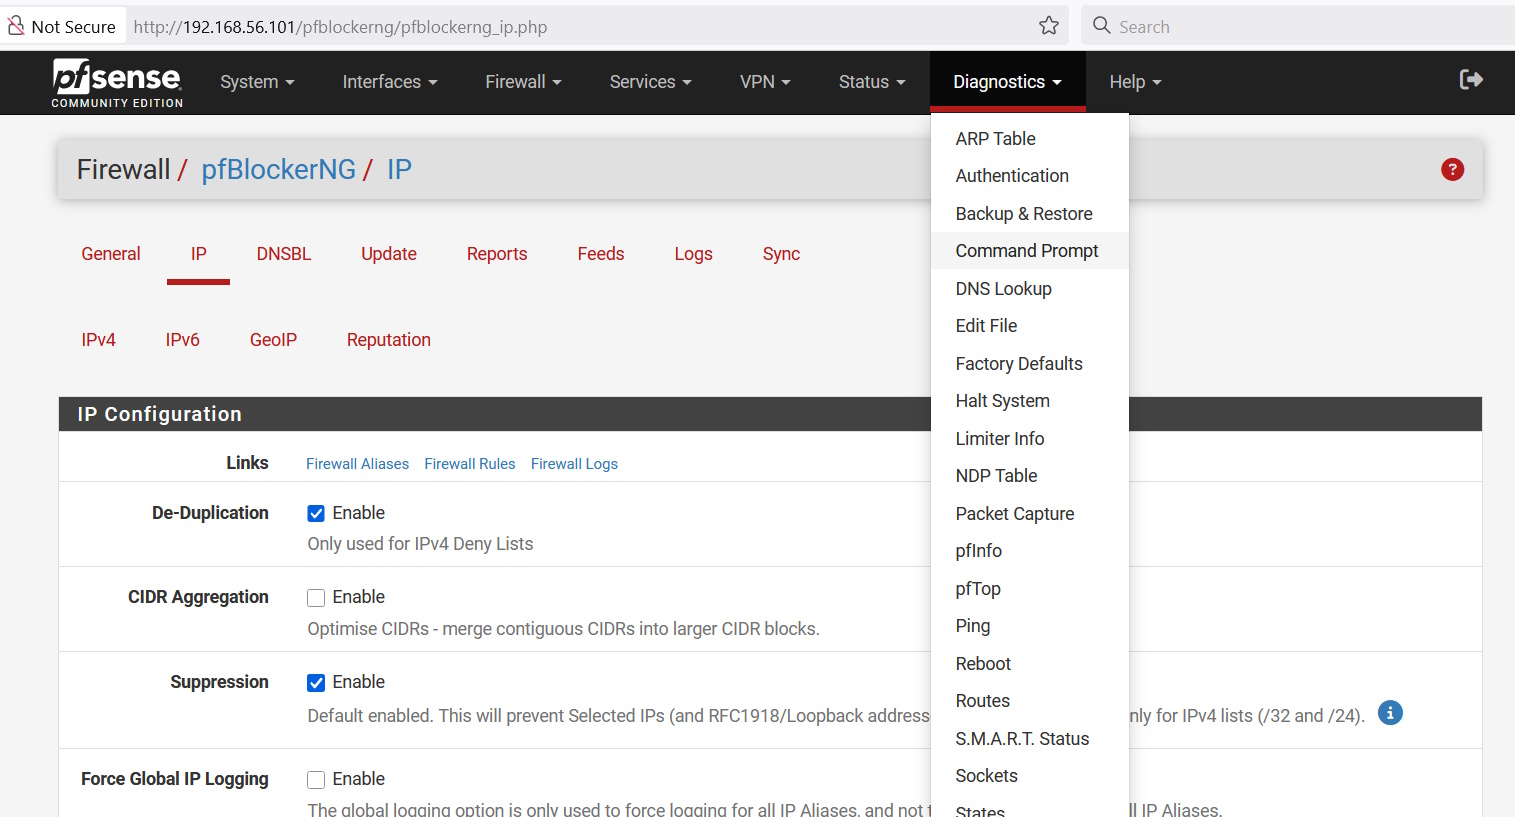
Now, we need to upload the ip2location_update.sh script from earlier using the pfSense webpage. Click on Diagnostics -> Command Prompt.
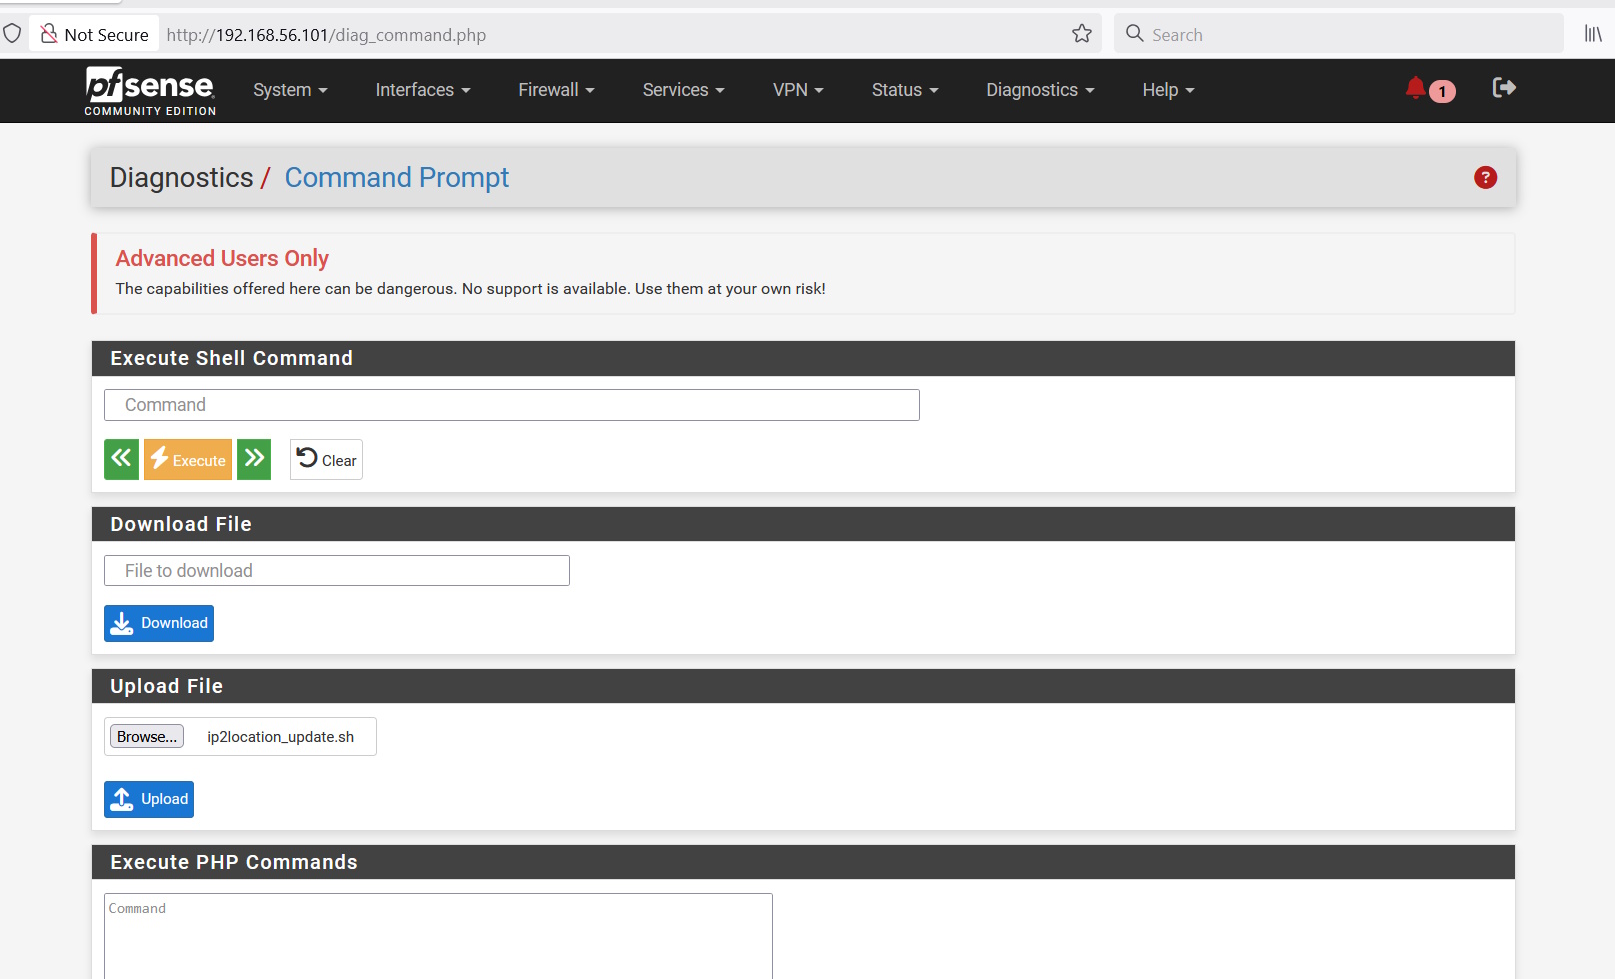
You’ll see the Upload File section. Click Browse and select the ip2location_update.sh file. Then, click on Upload.
You’ll see that the file has been uploaded to /tmp/ip2location_update.sh as shown below.
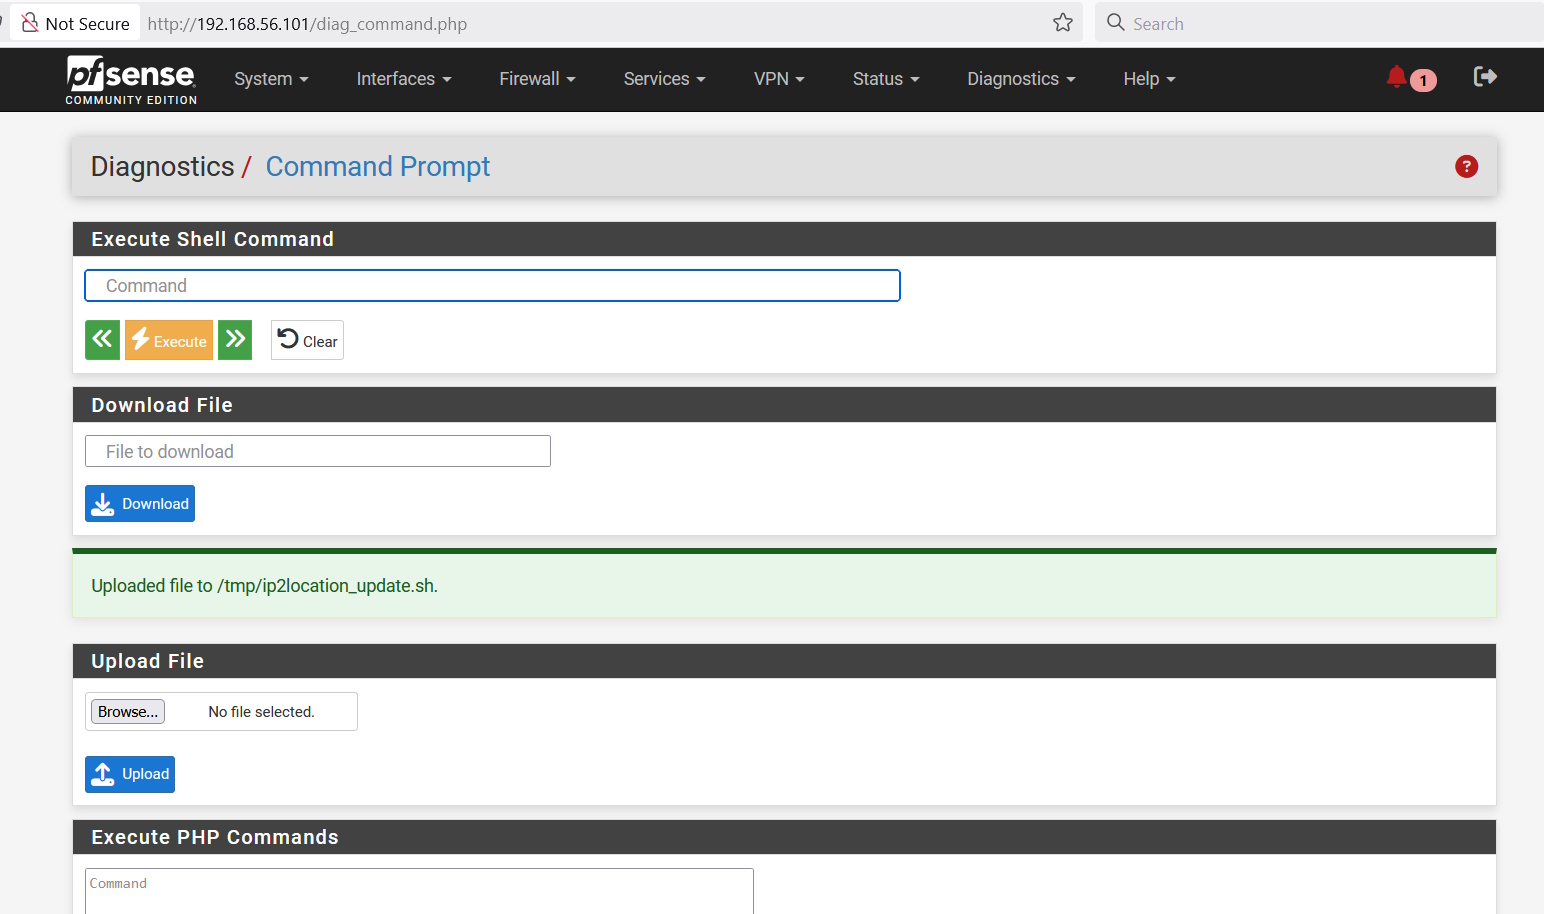
In the Execute Shell Command section, paste the following commands and click Execute.
mv /tmp/ip2location_update.sh /root; chmod +x /root/ip2location_update.sh
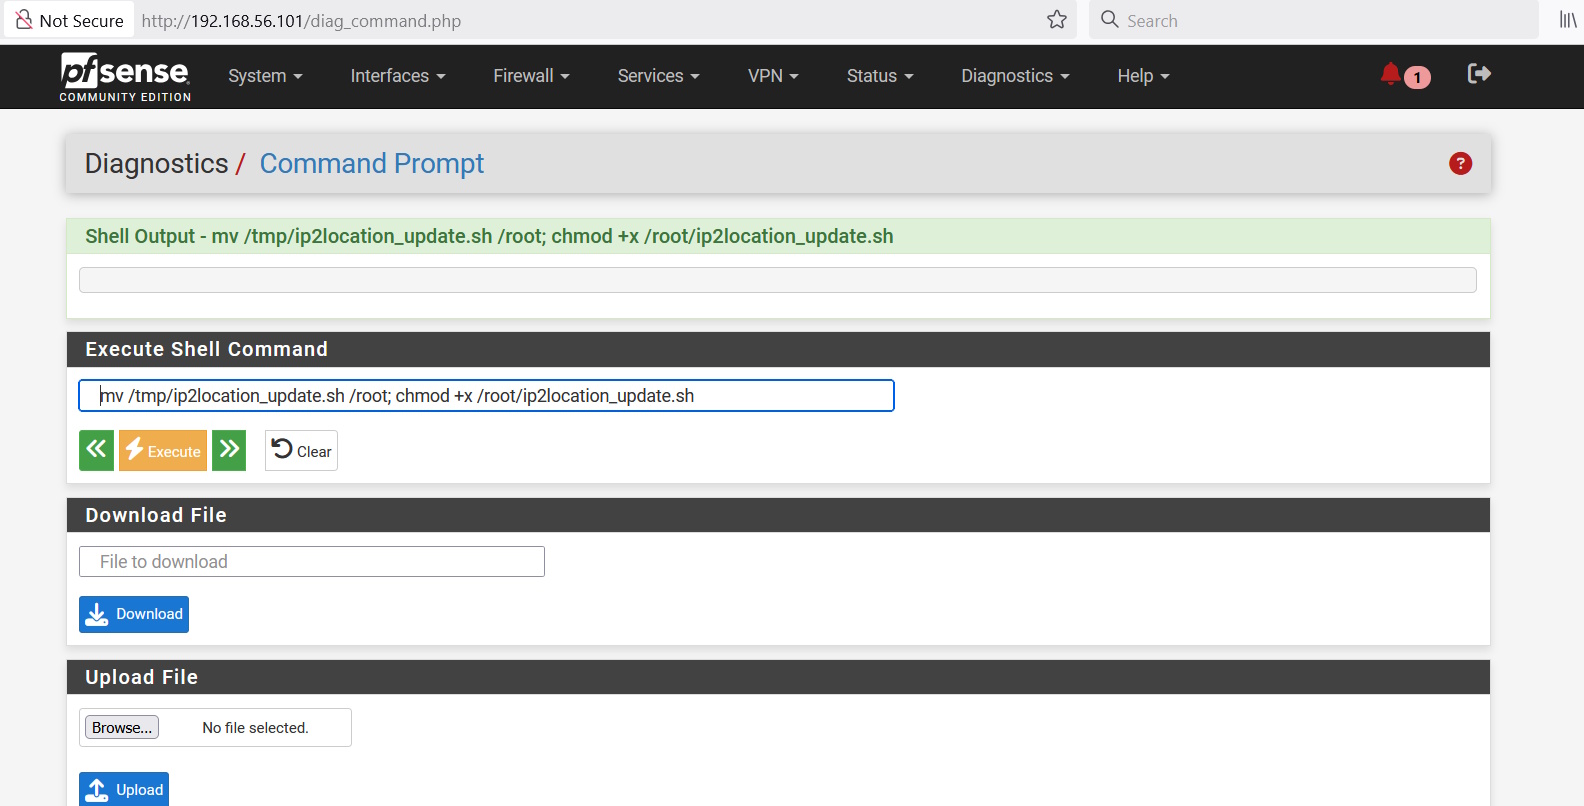
The ip2location_update.sh should now be in the root folder and assigned executable permissions.
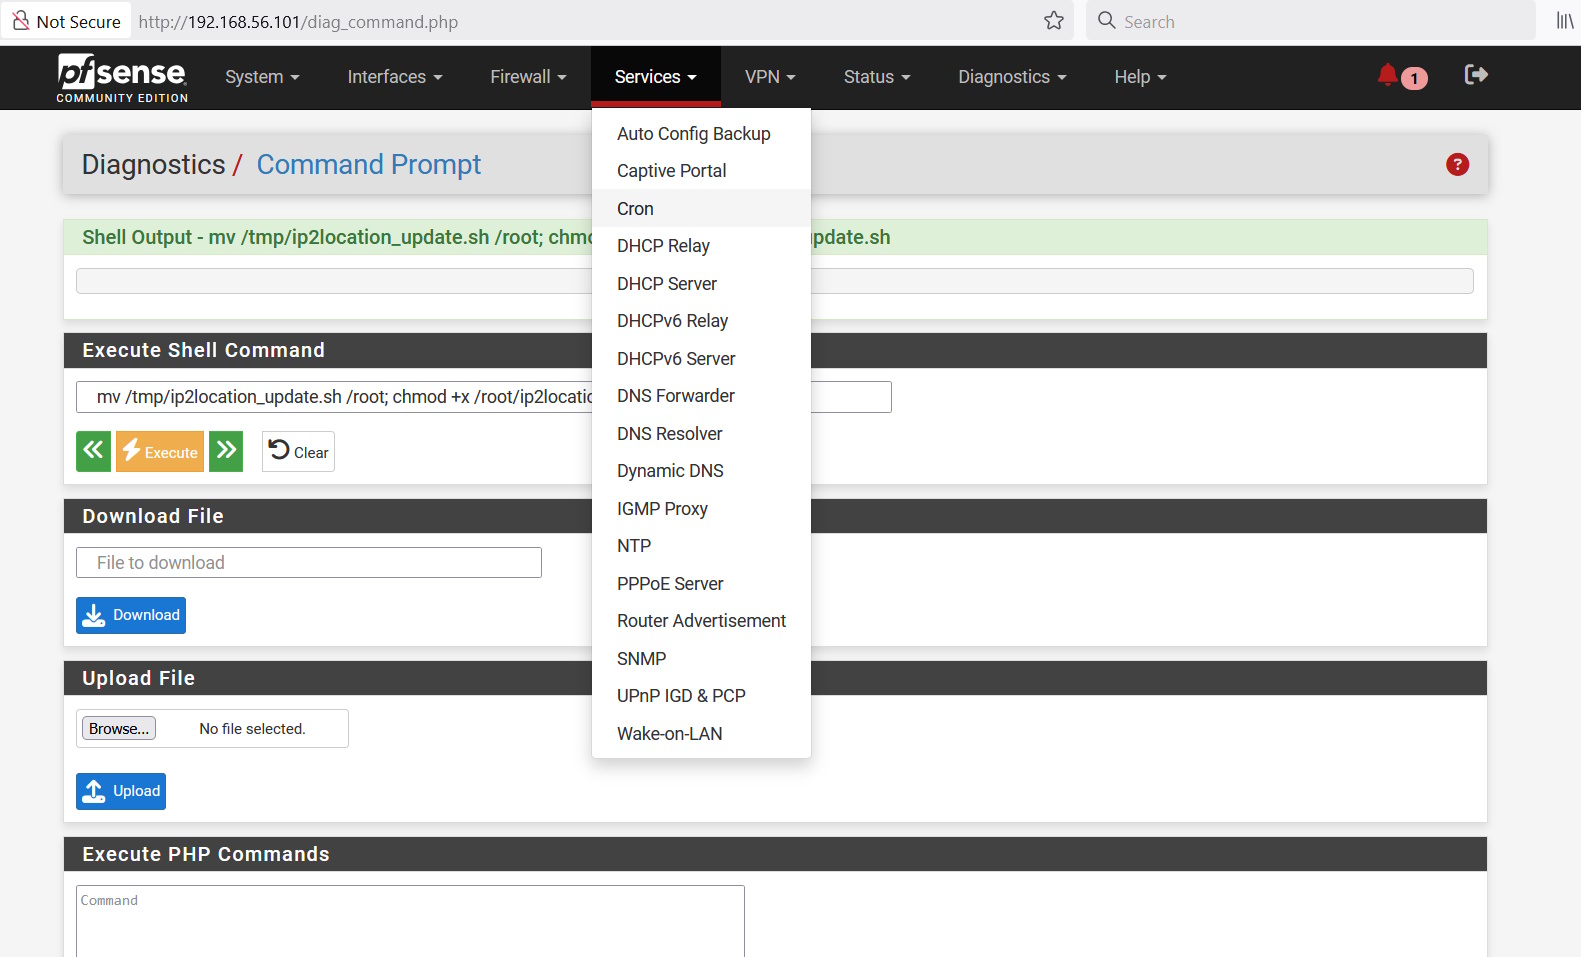
Setup cronjob to run the IP2Location update #
Go to Services -> Cron to configure the cronjob.
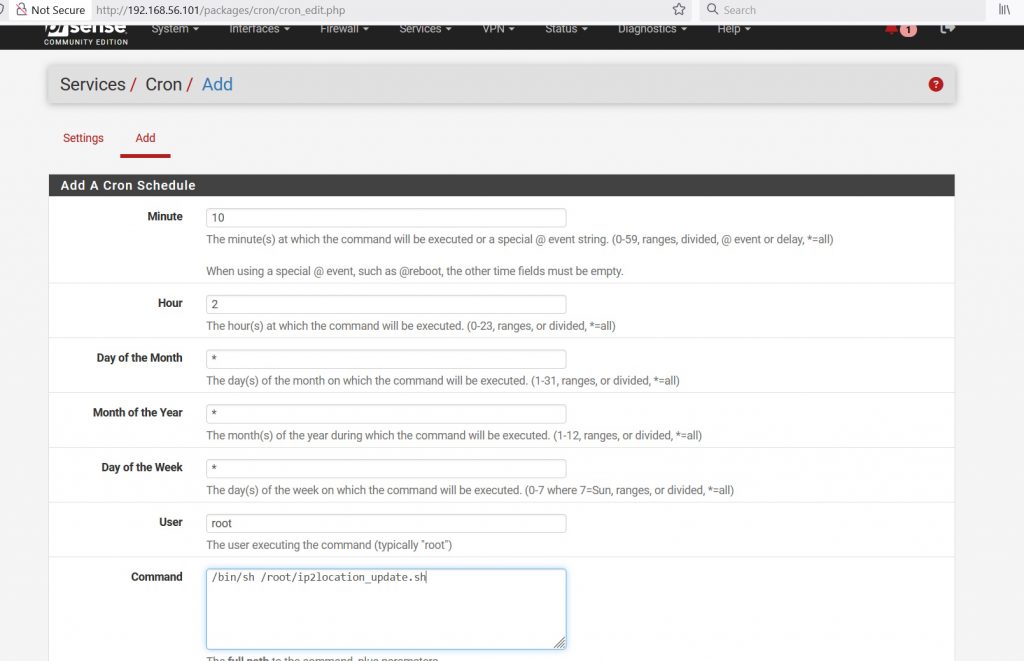
In the Cron page, click on Add and configure the settings like below. For our case, it will call the ip2location_update.sh script at 2:10AM UTC (our system is configured using UTC time zone). It will run every day using the root user.
/bin/sh /root/ip2location_update.sh
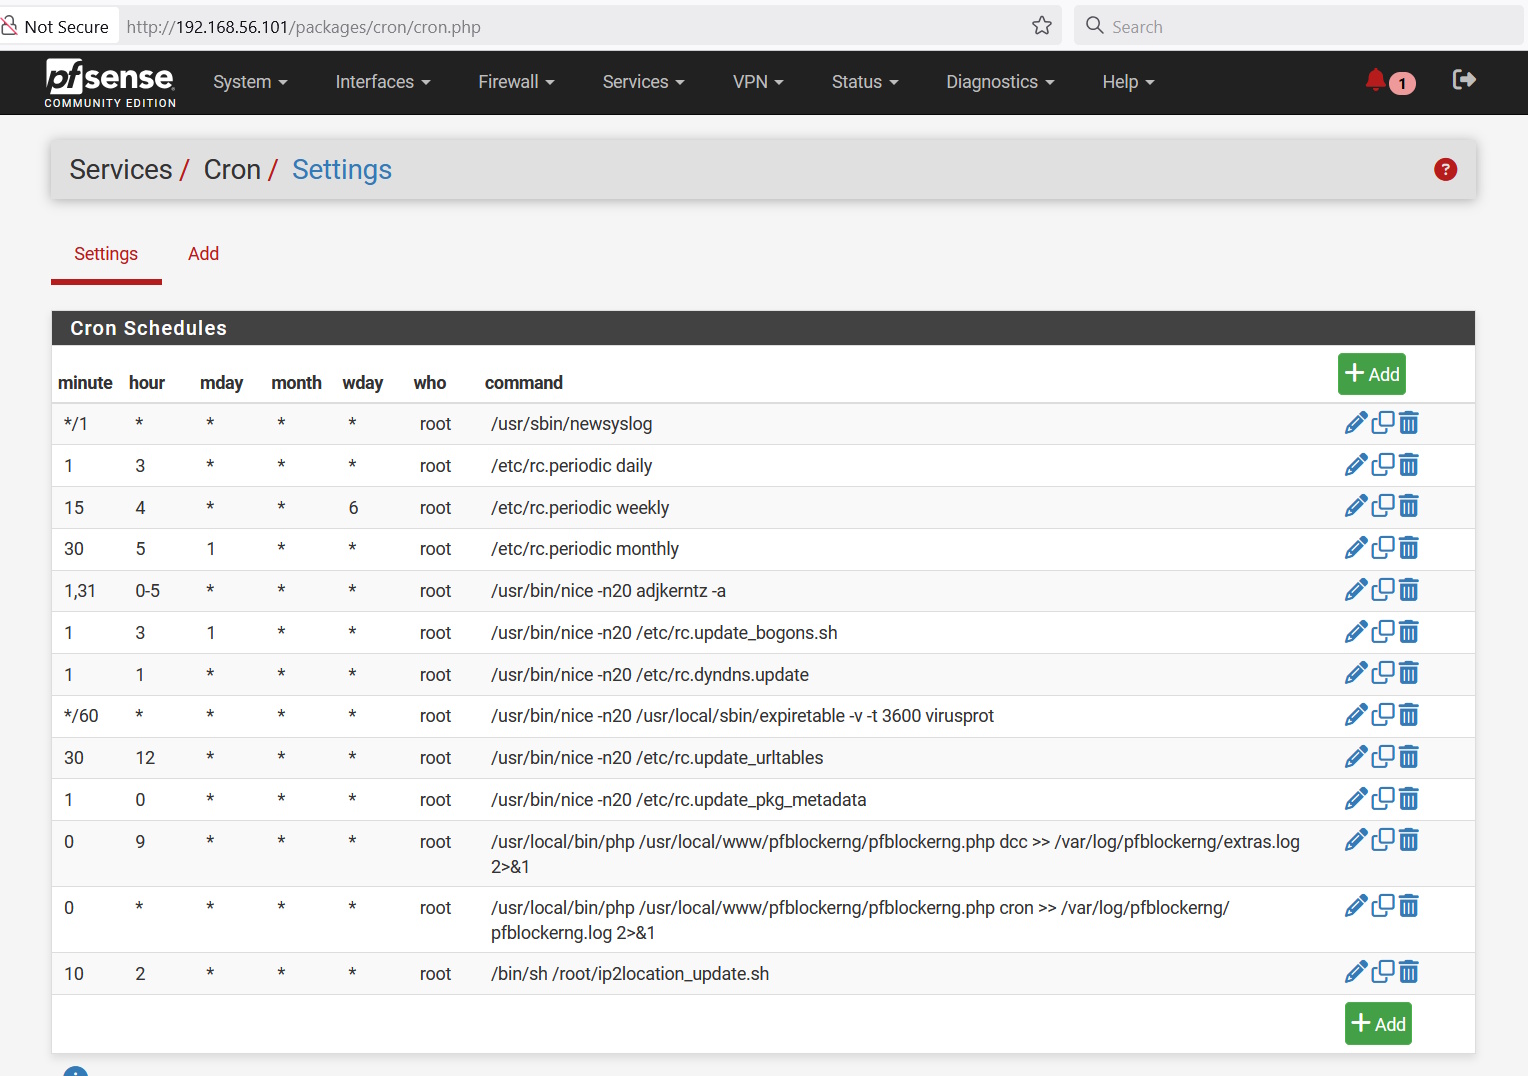
After saving your cronjob, you should see it appear in the list of cronjobs.
Conclusion #
Basically, that’s how you can switch out the MaxMind MMDB file to use the pfSense/pfBlockNG with the IP2Location MMDB data file.


